

It’s equipped with various attachments – including a Coanda dryer (designed to rough dry the roots and smooth flyways), barrels (one 40mm barrel for looser waves and another 30mm barrel for tighter curls – both designed to switch between clockwise and anti-clockwise direction with a simple twist at the top), a diffuser attachment, a firm smoothing brush and a large round volumising brush. You can also opt to purchase other additional attachments, and each tool comes with a detangling comb and a filter cleaning brush.
Colour-wise, it’s available in three iterations (the topaz variant being my favourite) – and when shopping for your hair type, you can choose between the straight and wavy Airwrap or or coily and curly Airwrap. The latter comes with a diffuser.
Weighing just high of 0.5kg, the tool features three heat settings (including the cool shot mode) and three speed settings – each controlled by the two handy switches positioned at the top of the device.
What’s the difference between Dyson Airwrap and Dyson Airwrap i.D.?
The original Dyson Airwrap is no longer on-sale – instead, if you want to buy a Dyson Airwrap, it’s the Dyson Airwrap i.D. you’ll be shopping for. TBH, there isn’t a tonne of difference between the two models, it’s just that the latter offers a more personalised styling experience than its predecessor.
The i.D. boasts Bluetooth connectivity and app integration, meaning users can connect their hair tool to the MyDyson app, and programme their tool to follow specific styling routines based on their hair type, length, and desired style. Cool, huh?
Outside of this, the i.d. includes the new Conical Airwrap™ barrel with tapered tip. This styles closer to the root than previous attachments, for tighter, longer-lasting curls.
My experience using the Dyson Airwrap review
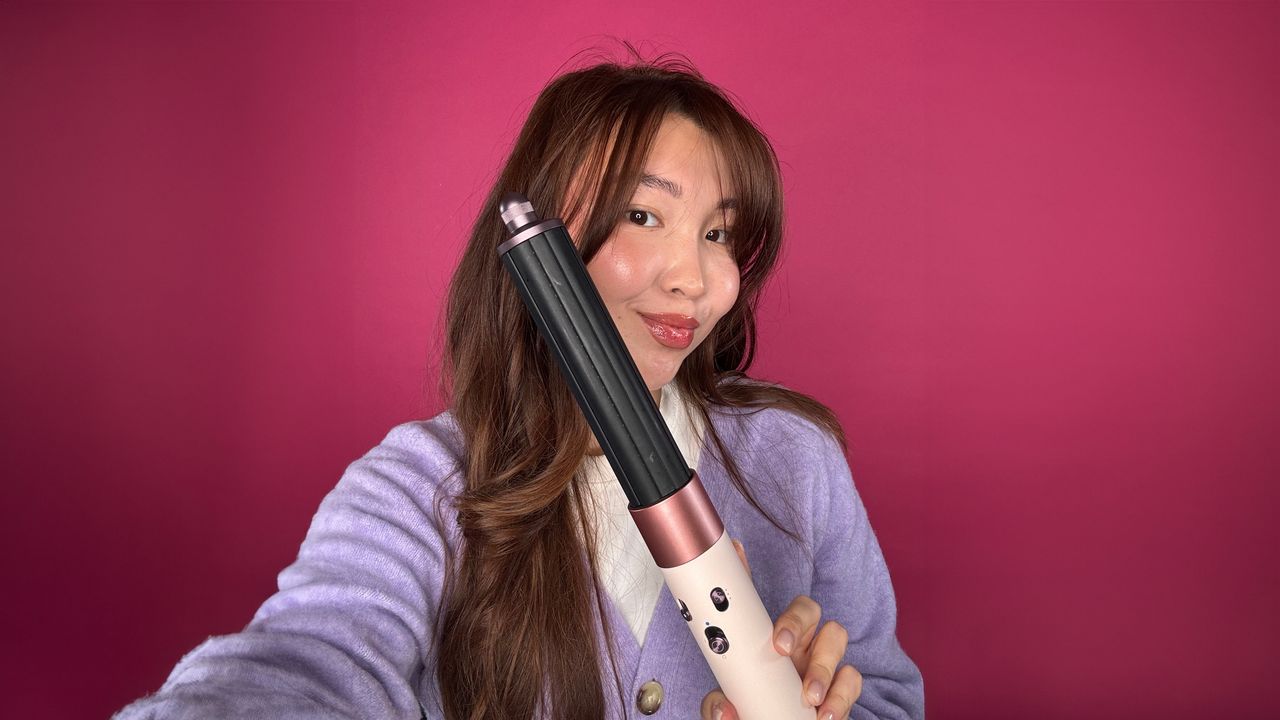
One of my favourite things about the Airwrap is just how speedy it is for day-to-day styling. Right after initially towel-drying my hair post-shower, I tend to reach for for the Coanda dryer attachment to focus on drying my roots and rough-drying the rest of my hair to the point when it’s still damp but 70% dry. If I’m in a rush, I simply grab the firm smoothing brush and gently comb my hair through the lengths for that silky smooth straight result. And if I’m after a bit more volume, I would use the round volumising brush to “zhuzh”-up my fringe and upper layers for that effortless look. This whole process usually takes me no longer that 5-8 minutes in total, which is perfect for those busy morning routines.
For the days when I have a bit more time, I love using the Airwrap to create my favourite bouncy curls using the iconic barrels – as that is, to me, where the Coanda effect comes into its own. After sectioning my hair, I opt for the tighter 30mm barrel for the longer layers (since those would be the first curls to drop) while alternating between directions. As for the shorter layers and my fringe, I usually go for the 40mm barrel and strategically style the curls away from my face. Through trial and error, I’ve learnt that the best way to get your curls to last is to avoid dry styling and instead focus on using the barrels on slightly damp hair. I also highly recommend trying out the Dyson Chitosan Pre-style cream, which helped me achieve a better hold and smoother results. Top tip: never skip the cooling shot to set your curls in place and try to pin them up while they’re cooling down.


Follow